Let’s face it – the house has seen better days and it’s time that you updated some things. Perhaps your primary concern is the walls because they’ve taken a beating from all of the paint jobs that have come before this one. Or maybe you painted a wall once and didn’t get it quite right, leaving behind some ugly paint chips as evidence. Regardless of your problem, repairing the walls will give you an excellent canvas upon which to create your next masterpiece. Read on for more information about how to fix paint chips on walls so they don’t stand out like a sore thumb.
How To Fix Paint Chips On Walls
Clean the Walls
If you have several paint chips, then you can start by cleaning them off of the wall. Start by removing all of the old paint, and then use a damp rag to wipe up any loose dust and debris. You’ll want to make sure that any small particles of paint are removed from the wall so that they don’t get ground into your new paint job.
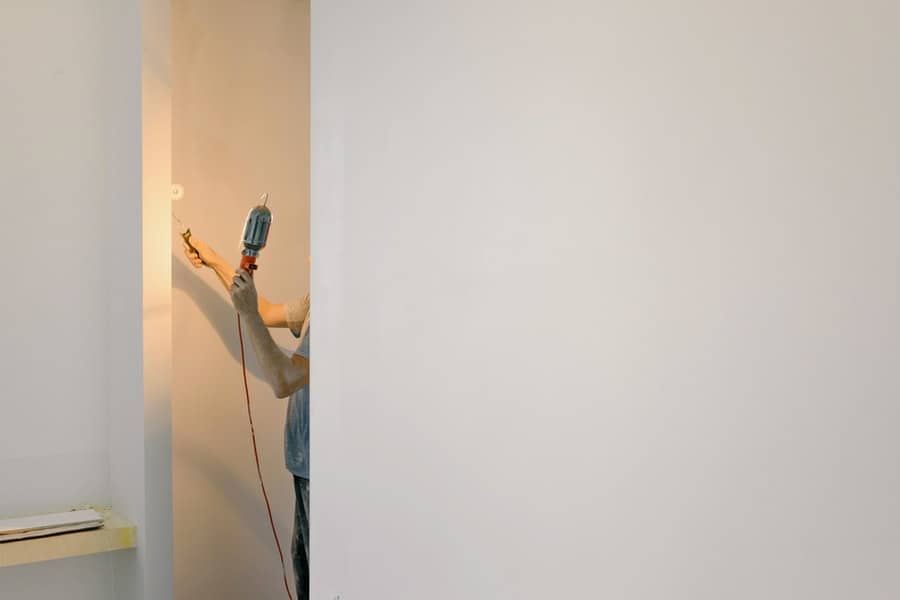
Paint a New Layer of Paint over the Chips
After removing all of the old paint from around the chips, it’s time to repaint them with a new layer of paint. Use an inexpensive brush or roller to apply two coats of primer over top of your existing layer to create a smooth surface for your new paint job. As you can see in this image, I used two coats of primer on top of my existing color. This will give me plenty of time to sand down my walls when I need to repaint them again later on in life!
Sand Down Your Wall After Applying Primer
Once you’ve applied both layers (one coat each), it’s time to sand down your walls as thoroughly as possible using an orbital sander or another suitable tool. While these tools are expensive, they are well worth the investment if you plan on repainting more than one wall at a time (which is highly recommended). The above image shows just how much dust and debris can be trapped within these tiny holes that you can see in the wood.
Apply a New Coat of Paint over the Primer
Once you’ve sanded down your walls, it’s time to apply a new layer of paint over the primer that you just applied. You don’t want to go too crazy with this coat, as it will be covered up by your final paint layer. When applying two coats of paint, I recommend applying one coat of primer and one coat of color afterward. This will give you plenty of time to sand down your walls again before painting them for the final time!
Apply Your Final Coat of Paint
After applying two coats of primer and color, it’s time to paint the final coat of paint over the entire surface. Make sure to apply plenty of layers of the paint on top of your previous layer so that you can sand down your walls as necessary.
Prepare The Wall
- If you’ve already painted over the chips, take a small paintbrush and gently wipe them off. If you’ve never painted over the chips before, then you may want to add a small amount of glue to the surface so that the paint won’t peel off after it dries completely.
- Before applying your paint, lightly sand down any rough areas in order to smooth them out for better adhesion.
- Mix up some primer and apply it to the wall carefully in a small area at a time until your entire wall is covered. Prime all of your walls in one single coat instead of trying to spread it out on multiple walls because they will dry much quicker this way and you will be able to see where gaps are between coats. You can also apply two coats of regular paint over primer if you prefer this method as well, but it will take longer for each coat to dry.
- Once the first coat has dried completely, sand down any rough spots again so that they are smooth and even with each other before applying the second coat. You want your walls uniform when they are finished being painted so that they don’t look messy or like different colors because of uneven surfaces or texture from sandpaper or grout lines on your tiles or grout lines around cracks between tiles on concrete floors.
- Once your second coat has completely dried, lightly sand down once again before applying the third coat.
Patching With Spackling Paste
- Begin by cleaning the area thoroughly. Scrub the walls and ceiling with a stiff brush and warm, soapy water.
- Apply a coat of spackling paste to the area with a sponge or brush. Work it into the cracks and holes until it’s completely dry.
- Mix up some filler in a bucket, then apply it to the wall using your fingers or a paintbrush. If you’re not sure how much filler to use, start with a small amount and work your way up as you go along until you find something that looks right.
- Once you’re happy with how it looks, take off any remaining excess spackling paste using your finger or an old toothbrush, then wipe away any excess residue with an old rag or paper towels
- Once everything is dry, add some color on top of your repaired wall using spray paint or even colored pencils if necessary; don’t forget to add some texture!
Patching With Joint Compound
- Sand the surface of the wall using fine-grit sandpaper. You may want to use a plastic sheet or tarp underneath your sander to protect the floor.
- Wipe off the wall with a damp cloth or sponge to remove any dust and debris.
- Mix up some joint compounds by combining 1 part joint compound with 2 parts water in a small plastic container, such as a sandwich bag. You can also make your own by mixing 1 part white glue with 2 parts water in another plastic container, but you’ll need to mix it up every time you use it so you don’t ruin it by over-mixing.
- Using a putty knife, spread the joint compound on top of the damaged paint chip and smooth out any lumps with your finger until it is completely covered and even across the entire area of damage. Use an old toothbrush for this if you have one available (not shown here) and make sure that you brush from both directions so that you cover all sides of the chip evenly, including inside where there may be no paint at all (shown here). Repeat this process until all portions of the damaged area are covered and smooth, being careful not to let too much excess material fall off onto other areas on your walls or floor below (shown here). Let dry completely before proceeding further, as there is no need for a second coat if using spray paint over top at this point (shown here).
- Once the joint compound has dried completely, apply a second coat of paint over top of the chip using a brush or roller to ensure that it is completely covered and smooth.
Patching With Drywall
- Begin by cleaning the wall and removing any loose paint.
- Mix one part of the drywall compound with two parts of water to make a slurry. Apply the slurry to the area of the wall where you’d like to cover the paint chips. Let it dry for two hours and then sand it smooth using medium-grit sandpaper (120 grit is good).
- Mix together one part of the drywall compound with two parts of water to make a slurry. Apply the slurry to the area where you want your patch to be, covering it with plastic sheeting or painter’s tape until it dries completely, which should take about four hours at room temperature. Then remove all traces of plastic or tape before applying the second coat of plaster over the whole area, which is done by mixing one part of plaster powder with three parts of water in a bucket and then applying it with a trowel or broomstick over the whole area that you want to be patched. Let it dry for 12 hours and then sand smooth using medium-grit sandpaper (120 grit again).
- Clean up any dust from your work area, wipe down all surfaces with an alcohol-based cleaner, then prime them with an oil-based primer such as Zinsser Bulls Eye Drywall Primer before painting them white again (you can also use white paint but be careful not to put too much on because this will make your patch look more like a white stain than a patch).
- Once all the prep work is done, paint over the patch with one coat of paint. Then let it dry for four hours and you’re good to go!
Conclusion
While it might be tempting to just paint over the paint chips on your wall, it’s best to do something about them. Not only will your wall look better without them, but it will also be more durable. If a wall is badly damaged, it can also be a fire hazard. Repairing paint chips on the wall will improve the look of your home and make it last longer. Now that you know how to fix paint chips on walls, get started on the next project!