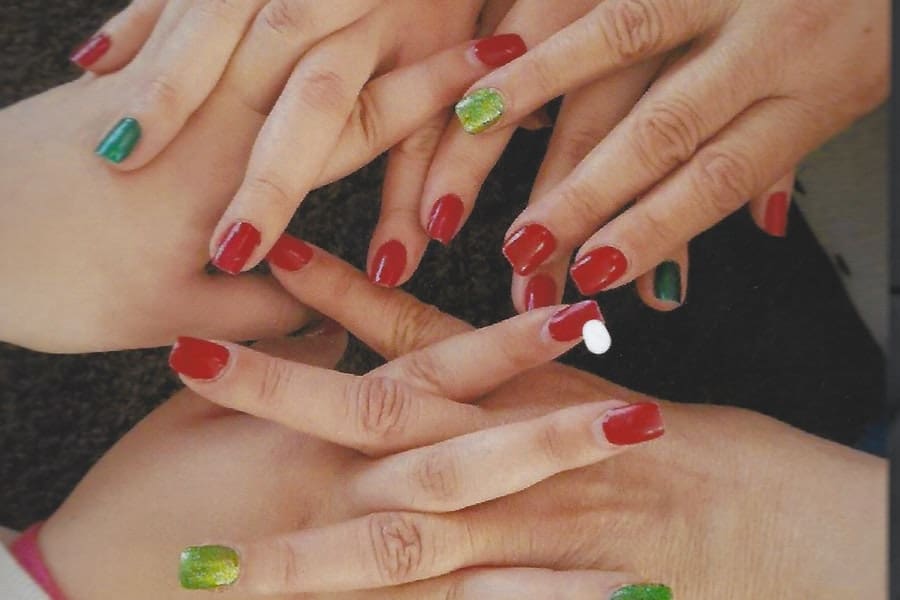
People love getting their hands on new trends, and that’s why we see new looks coming out every season. But, as much as we love these nails, cleaning under them is a huge pain. Acrylic nails are a popular trend for good reason; they make your fingers look longer and slicker. However, the downside is that cleaning under them isn’t exactly easy. The skin around your nails gets irritated easily with acrylic nails, and the cuticles are often left looking quite messy after removing them. Cleaning under these acrylic nails can be difficult because of this. And if you don’t clean well enough they will leave red marks on your fingers which can take days to disappear again.
How To Clean Under Acrylic Nails
-
Use a nail file
The first step to cleaning under acrylic nails is to make sure to remove any debris and dirt that has accumulated under your nails. To do this, you will need a nail file or a scraper. Just make sure that you don’t scrape off too much of your nail bed, as this can cause the nails to break or crack. The best way to clean under acrylic nails is by using a nail file or a scraper. Because they are so smooth, they are easier to clean than other types of nails. They also make it easier for you to see if there is any debris on the surface of the nail bed underneath them. If there is dirt on the surface, then you will be able to see it clearly with these tools.
-
Use nail polish remover
Once you’ve removed all other debris from your nails, use some nail polish remover on them. This will help rid your nails of any leftover dirt and grime that might have been hiding in between your cuticles and under your acrylic nails. Always remember that remover should be used very carefully around acrylics because it can damage them if used incorrectly (i.e., too much). If your cuticles are really dirty and need cleaning then use some gentle soap in conjunction with an alcohol-based remover like acetone (don’t use alcohol-based cleaners near plastic as it can damage certain plastics). You can also try using an acetone-free remover, but it will take longer to remove the grime.
-
Use a nail brush or a cotton swab
After removing all dirt and debris from your nails, you can follow up with a nail brush or a cotton swab to clean any remaining residue. The best way to do this is by holding the brush or cotton swab in between your fingers and gently rubbing it along the surface of your nails. You should try to use this method while they’re still wet so that you can get rid of any remaining dirt and grime that’s still on them. If you are using a cotton swab, make sure that the tip is wide enough to reach under your acrylic nails without breaking them (some brushes have very thin tips which makes it easier for them to break).
-
Apply some acetone-based polish remover (like acetone)
If after cleaning under your acrylic nails using the methods above, you still see traces of dirt/grime then there are two more things you can do: use some acetone-based polish remover like acetone and wait for it to dry completely before applying your regular polish again. Acetone removes some types of stains and dirt easily if they’re not too old or too deeply embedded into the skin nor if they haven’t been exposed long enough in an environment that has high levels of humidity (such as in an air-conditioned room). Acetone also has a good reputation for removing the grime from acrylic nails, but make sure that you use it carefully around your nails.
-
Use nail polish remover or acetone on your nails again
While acetone is a very effective nail polish remover, it can be quite harsh on the skin if you overdo it. If you accidentally get some acetone-based polish remover on your skin, wash it off immediately with soap and water or use some gentle moisturizer to help soothe the skin and prevent any irritation. You will also want to be aware of any signs of discoloration (i.e., redness) because this means that you’ve used too much acetone and might have damaged your nails if the damage goes unnoticed (it’s best to err on the side of caution). If you find that your nails are more prone to chipping than usual, ensure that you wear gloves when cleaning under them as this can cause damage to your acrylics.
Introduction To Cleaning Under Acrylic Nails
1. Cleaning the cuticles
The cuticles are the skin that covers your nail. They are thin, but they protect your nails from dirt and other things that you might like to get into your nails. If you don’t clean well enough under your acrylic nails, it will leave dirt and grime under the nail which can lead to yellow spots on your nails.
2. Removing dirt and grime
Underneath all of those layers of acrylic is a layer of skin that has some oils in it. This oil makes it difficult to wipe off all of the dirt from underneath the acrylic. If you don’t clean well enough, this layer will also lead to yellow spots on your nails because of the grime left behind. To prevent this from happening, use a nail file or a pumice stone to gently rub away any excess oil from underneath the acrylics so that you can get rid of any dirt and grime that might be left behind. Over time, this can cause damage to your fingernails because there is too much friction between the skin and acrylics. You should avoid this by always cleaning well underneath your acrylic nail before removing them so that you don’t damage them in any way.
3. Removing dead skin cells
Sometimes when removing acrylics, people mistakenly think they needn’t clean under their nails as much as they usually would with natural fingernails or even fake nails because they are not real fingers. However, they are still real fingers, and they still need to be cleaned. So what is the best way to get rid of dead skin cells? You can use a pumice stone or a nail file to gently remove any dead skin cells that may be underneath your acrylic nails. This will prevent them from leaving yellow marks on your nails and will also prevent them from falling down into your cuticles.
4. Cutting the cuticles
When you are removing acrylic nails, you need to be careful not to damage the skin underneath them because this can make your nails look discolored and damaged after removing them. To avoid this, you should carefully cut the cuticles around your fingernails before removing the acrylics so that there is no chance of damaging the skin underneath them when taking off the acrylics. If you don’t do this well enough, it may leave some red marks on your fingers which can take days to disappear again.
5. Cleaning between nail beds
If you don’t clean well enough under your acrylic nails, they will leave red marks on your finger which can take days to disappear again because of trapped dirt between the layers of skin and acrylics. This is where a nail file or pumice stone comes in handy; these tools help soften up any layers of dirt so that they can easily slide off so that they don’t leave any red marks behind when taking off the acrylics.
Why Is It So Hard To Clean Under Acrylic Nails?
-
The acrylic nails are hard to remove
You can’t just peel them off like you would with your natural nails. They are made of a different material that is much harder than your natural nails, and so they will take a lot more effort to remove. You will have to do it carefully and slowly, so you don’t damage the nail in the process.
-
The cuticles are very short and might be too small for the removal tools you use
If your cuticles look damaged or rough, it can be hard to get them removed as well as clean underneath these acrylic nails. You need special tools that can get into these small spaces where the cuticle is located. Otherwise, you will end up hurting yourself while trying to clean under these acrylic nails because of the roughness of the skin around them.
-
The nail bed is often too soft for cleaning tools designed for normal human nails
The nail bed on acrylic nails looks a bit like human skin, and so cleaning tools designed for human skin might not work very well on them. Most people have trouble removing their acrylics if they don’t use special tools for this purpose, which also makes it difficult to clean under them properly as well!
-
The skin around the nails is prone to getting irritated
Your hands are covered in a lot of oils that protect your skin from the harsh chemicals used in nail polish. But, acrylic nails are made of a different material, and so they don’t have the same protective qualities that natural nails do. So, if you put on acrylic nails, you will have to deal with a lot more oil on your hands than you would if you had regular natural nails. This means that cleaning under these acrylic nails can be very painful for your skin because it’s not accustomed to dealing with these chemicals.
Conclusion
Cleaning under acrylic nails can be a tricky task. But with the right tools and techniques, it can be done easily. Once your nails are clean, be sure to moisturize them. You can do this with hand cream, or cuticle oil. You can also apply nail oil to your nails to make them stronger. If you want your nails to last longer, you’ll want to take care of them. Cleaning your nails is a great way to do this. You can make your nails last longer by cleaning them regularly.